Software | Jailbreak iPhone, iPod Touch, iPad - Part 57 Skip to content

Jailbreak iPhone, iPod Touch, iPad

новости про джейлбрейк iPhone, iPod Touch и iPad

Archive

Category: Software

iRinger creates free ringtones for your iPhone from virtually any music or video file you own. Even YouTube videos! iRinger exports ringtones to iTunes, so there is no need to “jailbreak” your iPhone. You will be creating ringtones in seconds. It’s that simple. Here is a video tutorial:

Feature:

  • FREE
  • Three Steps: Import, Preview then Export. Done.
  • Convert virtually any audio format into an iPhone ringtone
  • Extracts audio out of video
  • Choose which section of the audio you want to hear
  • Adjust ringtone length, volume, fade in, fade out and loop gap
  • Export to iPhone ringtone format and import right into iTunes
  • Export to iPhone using SCP/SFTP and skip using iTunes
  • Use audio effects: Delay, Flanger, Boost, Reverse, etc.
  • Runs on all versions of Microsoft Windows including Windows Vista
  • Requires iPhone firmware 1.1.2 or newer, iTunes software 7.5 or newer
  • Works with the new iPhone 3G!

Download here: iRinger.exe. Developer’s site: www.iringer.net

Here is an advanced video tutorial, it shows how to use some advanced features:

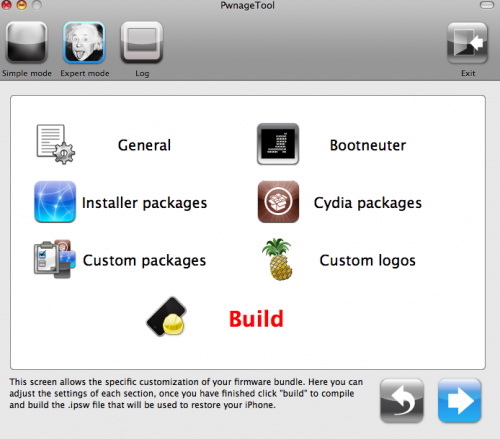
pwnage PwnageTool 2.0.1 released

Yesterday there was a release of PWNage 2.0. Now version 2.0.1 is avaliable.

Here is the list of bugfixes:

  • It auto-finds the bl39 and bl46 files better, if they’re on your computer
  • It creates the ~/Library/iTunes/Device Support/ folder if not present, which should help with some 1600 errors people have been having.
  • Many people have reported the PwnageTool not starting up at all (the icon never stops bouncing). This issue should be resolved now.
  • The Sparkle AppCast URL is fixed in this version, so automatic updates should work for future releases.

Because of the AppCast URL fix, we recommend that everyone who downloaded PwnageTool 2.0 get this version, if they want to stay up to date automatically.

If PwnageTool 2.0 pwned your phone correctly the first time, you do not need to pwn again with 2.0.1.

The file can be found on BigBoss_’s repository, or at Hackint0sh.

If you choose to download it from other mirrors, you may want to verify that the SHA1 of the file is 10b6c7dc22286e7b70c3d5a92cda7d117426fda9.

pwnage 20

Now older IPhone users users can upgrade to firmware 2.0 and IPhone 3G users have a possibility to have jailbreaked IPhones. That is because PwnageTool 2.0 is released today. Download links are: mirror1, mirror2, mirror3.

Just a reminder: this tool jailbreaks and unlocks older iPhones, and jailbreaks iPhone 3Gs and iPod Touches. No unlock for Iphone 3G yet. The supported firmware is 2.0 only. Platform is Mac OS.

If you get Error 1600 from iTunes (or if you see in your log a failure to repare x12220000_4_Recovery.ipsw), try: mkdir “~/Library/iTunes/Device Support” ;  if that directory already exists, remove any files in it.  Then re-run PwnageTool.

Reminder: as of right now, there are no apps out for 2.0. Over the next few days some will come out. So do not update yet if you have some favorite 1.1.x apps you are using! 2.0 will not run 1.1.4 apps

UPDATE: version 2.0.1 is avaliable

DevTeam recently published a video of working PwnageTool 2.0 – for unlocking, activating and jailbreaking IPhne fimware, that will work with the new firmware 2.0.

“Many many hours have gone into this and now it should be as easy enough for your grandmother to use. We’ve added lots of new features, including 2.0 support, spotlight file indexing of .ipsws, canned websearches, installer custom configuration, custom root partitions and various other things that you’ll see on the release. Release date is soon although not this weekend. So check out the video, hopefully it will hold you off until we release.”

PwnageTool works with 2.0 upgraded 1st gen (!) iPhones if they are activated or not.

Run

This is a tutorial, that shows step by step how to use installed Java on the IPhone. Just in case you do not have Java installed on your IPhone there is a tutorial how to do it.

What we need is a working jailbraked IPhone with Java Installed. I used latest firmware 1.1.4, unlocked, jailbreaked and customized by winpwn.

Step 1: Create simple Java application, compile and run.

  1. Create file Java4IPhone.java and put simple Java hello-world code there. I used the following code:Create Java hello-world
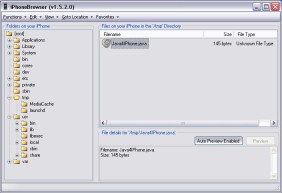
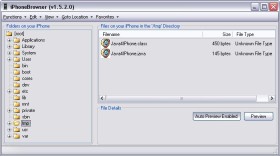
  2. Upload to IPhone. I used /tmp directory. For uploading I used IPhone Browser.
  3. Run Terminal.
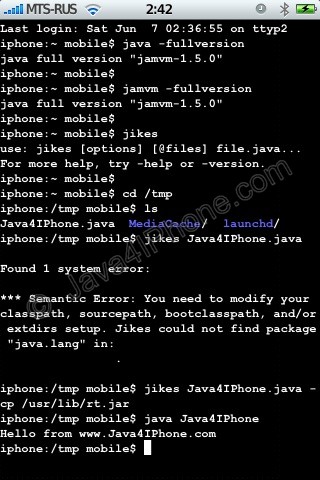
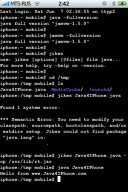
  4. Use command java -fullversion or jamvm -fullversion to see if java is avaliable.
  5. Use command jikes to invoke java compiler.
  6. Go to /tmp directory, using command cd /tmp
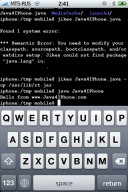
  7. Compile. We need to specify classpath to basic java packages. If we do not do that, jikes will produce an error (see screenshot). So use the following command: jikes Java4IPhone.java -cp /usr/lib/rt.jar
  8. After compiling Java4IPhone.class file should appear in the same directory. To run use commandjava Java4IPhone
  9. Take a look at the screenshots. Hopefully you’ll have something similar.

Upload Java application to IPhone

Check Java and Jikes Compile using Jikes Run

Upload Java application to IPhone

Step 2: Have fun!

Installed packages

This is a tutorial, that shows step by step how to install Java on the IPhone.

What we need is a working unlocked and jailbraked IPhone with Installer. I used latest firmware 1.1.4, unlocked, jailbreaked and customized by winpwn.

First of all I’d like to say we all want to use legal IPhones and operators. So everything written below is for testing purposes only :-) . Hopefully this technology will be avaliable on all IPhones sold worldwide. You also might need to recover your IPhone, so make sure you backed up all your data. I personally did everything without any problems and needs to recover. Everything you do is your responsibility, etc…

So let’s start, because it’s worth it! It’s just one evening and you will be able to create your personal Java application, compile and run it on the IPhone, and amaze all your friends :-) .

There are two steps:

Step 1: Go to Installer and install Mobile Terminal and Cydia Installer.

  1. Go to Settings -> General -> Auto-Lock and set it to Never. This will avoid some troubles during installation.
  2. Run Installer. Repository for Terminal should be already there (BigBoss), because it is in latest Community Sources.
  3. Add repository http://apptapp.saurik.com for Cydia Installer and refresh
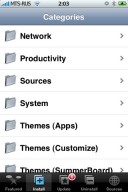
  4. Go to Install -> System
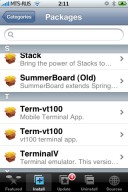
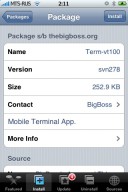
  5. Find Term-vt100 – Mibile Terminal App. I used version svn278. Install it.
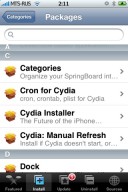
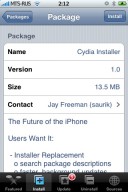
  6. Go to System again and find Cydia Installer – The Future of the IPhone. I used version 1.0. Install it.
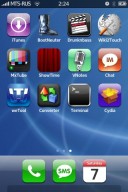
  7. Exit. Restart IPhone. Two icons for Terminal and Cydia should appear.

Here are some screenshots for Step1:

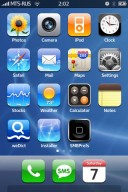
Go to Installer Go to System Find Term-vt100

Install Term-vt100 Find Cydia Installer Install Cydia Installer

Two icons should appear

Step 2: Go to Cydia Installer and install Java.

  1. Run Cydia Installer.
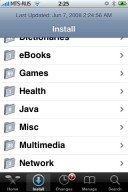
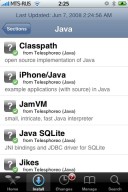
  2. Go to Install – Java section. You will find many programms there.
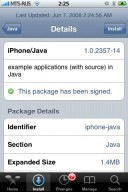
  3. Select IPhone/Java. It will install most of the needed packages, which includes vm, libraries, etc.
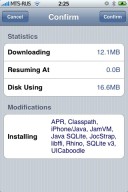
  4. Click confirm and wait a little bit.
  5. Go to Java section again and install Jikes package (itwill be probably the only one left). Jikes is a compiler.
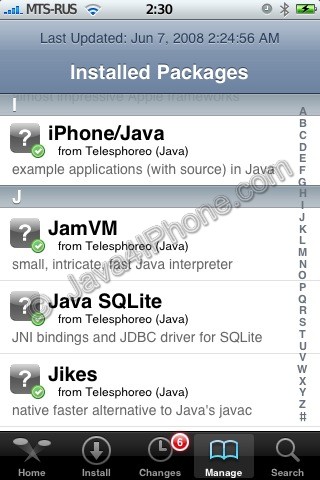
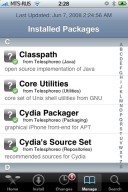
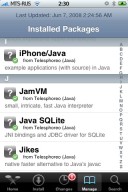
  6. Go to Installed Packages tab. Check that Classpath, IPhone/Java, JamVM, Jikes are installed. Several other packages will be there too (Java SQLite, JocStap, etc).
  7. Exit Cydia and restart IPhone. Congratulations!!! You’re done installing Java.

Run Cydia Installer Go to Java section Java section

Select IPhone/Java IPhone/Java dependencies Installation of IPhone/Java

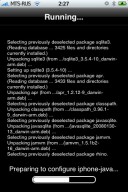
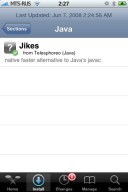
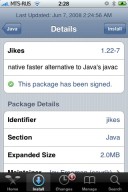
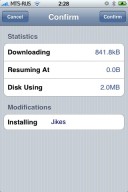
Jikes Jikes Install Jikes

Installed packages Installed packages

That’s it. The tutorial about using all this stuff is here :)