Windows | Jailbreak iPhone, iPod Touch, iPad - Part 22 Skip to content

Jailbreak iPhone, iPod Touch, iPad

новости про джейлбрейк iPhone, iPod Touch и iPad

Archive

Tag: Windows

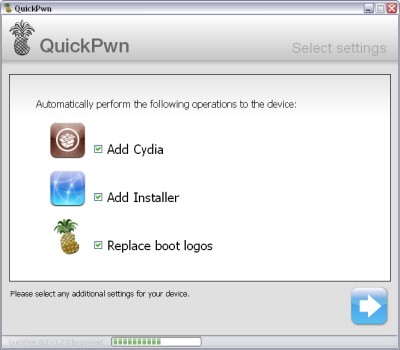
quickpwn12 QuickPwn updated to 1.2.0

QuickPwn for Windows is updated. Support for all 2.x firmwares is added. So now you can QuickPwn and jailbreak the device if it is running 2.0, 2.0.1 or 2.0.2.

DevTeam reminds that it is still beta software, so usual rules apply, no complaints if anything goes wrong and use the tool at at your own risk!

Download here!

Using QuickPwn does not update the firmware itself, this tool is designed to ‘Pwn’ (the ability to install future custom non-Apple firmwares) , ‘Jailbreak’ and install Installer and/or Cydia on a given device. If your device is running 2.0.1 and you QuickPwn it, it’ll still be running 2.0.1, although it will now be Pwned and Jailbroken. It will also activate (not unlock) devices that are being used outside of their intended territories and cannot be activated using iTunes.

If you want to update to 2.0.2 then use the normal iTunes update to get to 2.0.2 and then use QuickPwn to Pwn, Jailbreak and Activate, remember that the 2.0.2 update includes a baseband update for the 3G iPhone, so depending what your long term intentions are for the phone, update wisely, of course in the upcoming PwnageTool application you’ll be able to create a custom ipsw without the baseband update enabled.

PS: Mac OS version is on it’s way.
quickpwn03 QuickPwn Beta

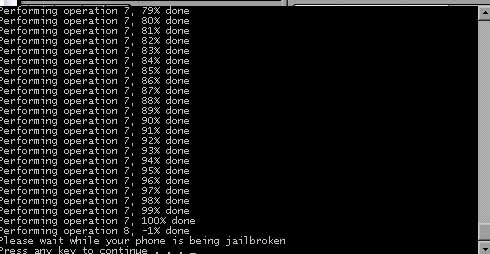
DevTeam created a quick solution for jailbreaking an iPhone. It is called QuickPwn. It is in beta, so be careful. It will allow you to pwn (jailbreak) your device very quickly without restoring!

Who should use this tool? This is for those that are not planning to restore. It’s not clear what the activation state is after the process therefore, I only recommend this for those that have a contract carrier or an unlocked phone already.

If you are on a stock device and using AT&T or a contract carrier, this is the perfect jailbreak for you. You will not lose your contacts or have to do any backups. Finally, if you are going to restore anyway, especially if you need to unlock a 2g, you may as well use winpwn or such.

Currently QuickPwn requires your device to be running version 2.0.1 of the iPhone/iPod firmware. And it runs only on Windows. This requirement will change in a subsequent release.

You can download it here.

PwnageTool 2.0.2 released just a day ago. And now WinPwn – iPhone jailbreaker and unlocker for windows is avaliable. The main new feature – it supports firmware 2.0.1.

Download 2.0.0.4: [Rapidshare.com] [Rapidshare.de]

Download firmwares: iPhone 1.1.4, 2.0, 2.0.1, iPhone 3G 2.0, 2.0.1

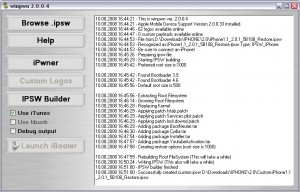
winpwn2004 2 300x192 WinPwn 2.0.0.4 with support of 2.0.1 firmware

2.0.0.4 features:

  • Support for both 1.1.4, 2.0, 2.0.1
  • Root partition resize support
  • Installer support
  • Support for WinXP and Vista 32/64bit.

Notes are as usual:

  • You MUST do a full uninstall of winpwn before installing the new version
  • Make sure you have the latest version of iTunes (from 7.7)
  • WinPwn uses 300MB of ram at peak due to the ipsw being extracted in memory
  • You must first click browse and load an IPSW to use WinPwn (i thought this was clear)
  • For 2.0 only the *5A347_Restore.ipsw files are valid. The 345 image will not work
  • If you see Failed to load image catalog/payload catalog, this is fine and won’t cause problems
  • If you already have service with AT&T do not activate or install Youtube Fix
  • As usual jailbreak for iPhone and iPhone 3G, unlock only for iPhone.
  • It is recommended to use at least 550mb partition size to accommodate a space issue that causes some folks errors such as “the ipsw failed to create”.

How to:

  1. First create a custom IPSW using the IPSW Builder (original are here: iPhone 1.1.4, 2.0, 2.0.1, iPhone 3G 2.0, 2.0.1).
  2. Bootloader Images: 3.9 and 4.6 in it here or here.
  3. Click “Ipwner” and browse for the custom IPSW that you just created. This will pwn itunes and allow you to flash
  4. Custom IPSW files via DFU mode
  5. Once you have pwned Itunes, put your phone into DFU mode. If you don’t know how to do this click Here.
  6. Once you are in DFU mode Itunes will pop up and then you can hold shift and click restore and browse to your custom IPSW file.

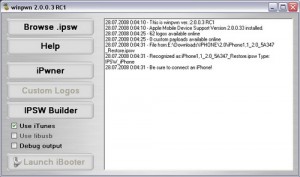
winpwn20031 300x177 WinPwn 2.5 soon

Developer of WinPwn (curent version is 2.0.0.3), IPhone unlocking and jailbreaking tool for Windows, announced today, that new version 2.5 will be released soon. Not much new features, mostely bugfixes.

“New WinPwn is being developed which will be a lot easier to use and should help a lot of people having issues.”

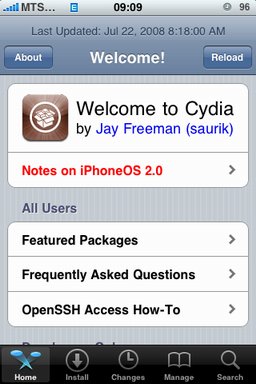
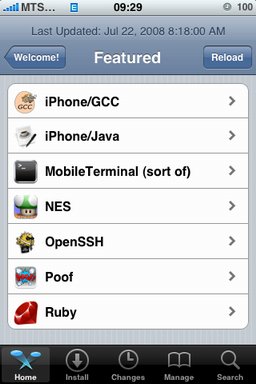
cydia20 1 Java for IPhone / IPhone 3G firmware 2.0 exists cydia20 2 Java for IPhone / IPhone 3G firmware 2.0 exists

After successfull jailbreake of the IPhone/IPhone 3G with firmware 2.0 it is possible to install Cydia installer. And what is more exciting, there are many applications there, including Java.

Related articles:

screenshots are from iphoneapps.ru

xpwn xpwn 0.3 sources are now up

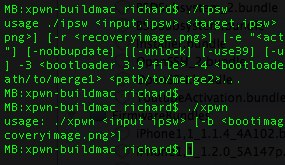
The development sources for xpwn 0.3, the firmware 2.0 version of our cross-platform jailbreaking library/command-line utility have been pushed onto github. DevTeam tested it on Linux, Windows XP, and Windows Vista for both the iPhone 2G and iPhone 3G thus far, but since it uses the same FirmwareBundles files as PwnageTool, and we know those work for the iPod touch, there ought not be any problems.

Being a suite of command-line utilities, this release is meant primarily for developers. While you can certainly jailbreak (both 3G and first-gen) and unlock (first-gen) with it, it’s not really something you want to try without reading the lengthy, detailed README. If you don’t have the patience to do that, this release is not for you.

For users this news mean that quite soon there will be a new version of winpwn, supporting 2.0.

iRinger creates free ringtones for your iPhone from virtually any music or video file you own. Even YouTube videos! iRinger exports ringtones to iTunes, so there is no need to “jailbreak” your iPhone. You will be creating ringtones in seconds. It’s that simple. Here is a video tutorial:

Feature:

  • FREE
  • Three Steps: Import, Preview then Export. Done.
  • Convert virtually any audio format into an iPhone ringtone
  • Extracts audio out of video
  • Choose which section of the audio you want to hear
  • Adjust ringtone length, volume, fade in, fade out and loop gap
  • Export to iPhone ringtone format and import right into iTunes
  • Export to iPhone using SCP/SFTP and skip using iTunes
  • Use audio effects: Delay, Flanger, Boost, Reverse, etc.
  • Runs on all versions of Microsoft Windows including Windows Vista
  • Requires iPhone firmware 1.1.2 or newer, iTunes software 7.5 or newer
  • Works with the new iPhone 3G!

Download here: iRinger.exe. Developer’s site: www.iringer.net

Here is an advanced video tutorial, it shows how to use some advanced features:

Installed packages

This is a tutorial, that shows step by step how to install Java on the IPhone.

What we need is a working unlocked and jailbraked IPhone with Installer. I used latest firmware 1.1.4, unlocked, jailbreaked and customized by winpwn.

First of all I’d like to say we all want to use legal IPhones and operators. So everything written below is for testing purposes only :-) . Hopefully this technology will be avaliable on all IPhones sold worldwide. You also might need to recover your IPhone, so make sure you backed up all your data. I personally did everything without any problems and needs to recover. Everything you do is your responsibility, etc…

So let’s start, because it’s worth it! It’s just one evening and you will be able to create your personal Java application, compile and run it on the IPhone, and amaze all your friends :-) .

There are two steps:

Step 1: Go to Installer and install Mobile Terminal and Cydia Installer.

  1. Go to Settings -> General -> Auto-Lock and set it to Never. This will avoid some troubles during installation.
  2. Run Installer. Repository for Terminal should be already there (BigBoss), because it is in latest Community Sources.
  3. Add repository http://apptapp.saurik.com for Cydia Installer and refresh
  4. Go to Install -> System
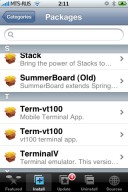
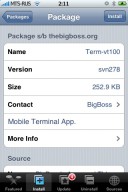
  5. Find Term-vt100 – Mibile Terminal App. I used version svn278. Install it.
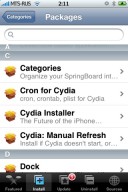
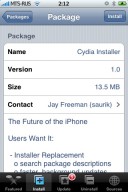
  6. Go to System again and find Cydia Installer – The Future of the IPhone. I used version 1.0. Install it.
  7. Exit. Restart IPhone. Two icons for Terminal and Cydia should appear.

Here are some screenshots for Step1:

Go to Installer Go to System Find Term-vt100

Install Term-vt100 Find Cydia Installer Install Cydia Installer

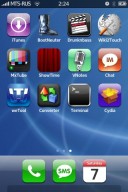
Two icons should appear

Step 2: Go to Cydia Installer and install Java.

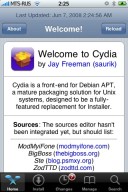
  1. Run Cydia Installer.
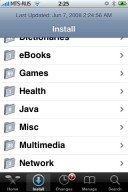
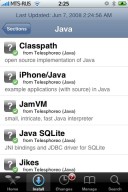
  2. Go to Install – Java section. You will find many programms there.
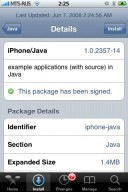
  3. Select IPhone/Java. It will install most of the needed packages, which includes vm, libraries, etc.
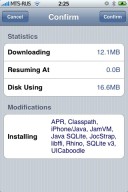
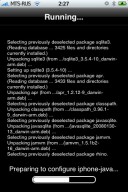
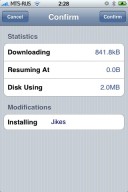
  4. Click confirm and wait a little bit.
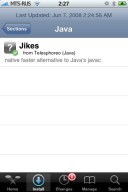
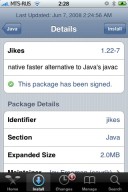
  5. Go to Java section again and install Jikes package (itwill be probably the only one left). Jikes is a compiler.
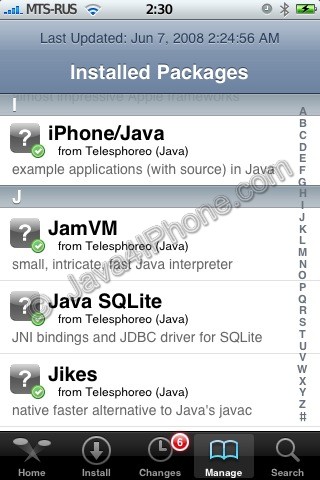
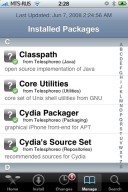
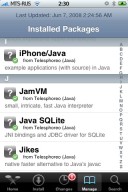
  6. Go to Installed Packages tab. Check that Classpath, IPhone/Java, JamVM, Jikes are installed. Several other packages will be there too (Java SQLite, JocStap, etc).
  7. Exit Cydia and restart IPhone. Congratulations!!! You’re done installing Java.

Run Cydia Installer Go to Java section Java section

Select IPhone/Java IPhone/Java dependencies Installation of IPhone/Java

Jikes Jikes Install Jikes

Installed packages Installed packages

That’s it. The tutorial about using all this stuff is here :)