Test | Jailbreak iPhone, iPod Touch, iPad - Part 10 Skip to content

Jailbreak iPhone, iPod Touch, iPad

новости про джейлбрейк iPhone, iPod Touch и iPad

Archive

Tag: test

gp web1 Step by step tutorial: Jailbreak iOS 4.2.1 on iPhone, iPod or iPad using Greenpois0n for Mac OS

These are step-by-step instructions on how to jailbreak iOS 4.2.1 on iPhone 3GS, iPhone 4, iPad, iPod Touch 2G, iPod Touch 3G, iPod Touch 4G using Greenpois0n for Mac OS X. Tutorial for Windows users is available here. All the steps are the same for all devices.

Greenpois0n has been updated to support the iOS 4.1 and iOS 4.2.1 firmware. Use Limera1n if you want to jailbreak iOS 4.0, iOS 4.0.1, iOS 4.0.2.

Remember: Greenpois0n recommends a clean restore before continuing.

Unlockers: do not update to iOS 4.1 or iOS 4.2.1 if you need the unlock. Ultrasn0w does not support that baseband yet. The only exception is the iPhone 4. You can unlock iPhone 4 with iOS 4.1 using ultrasn0w. Experienced users can also try update to iOS 4.2.1 without upgrading your baseband by using TinyUmbrella. Start TSS Server->Start iTunes->Plug in your iPhone->Restore 4.2.1->Error 1013->Put phone into DFU Mode->Launch Greenpois0n.

We are not authors of this app. We do not promise that everything will go well, use this tutorial at your own risk.

Read the rest >>>>

gp web1 Step by step tutorial: untethered jailbreak iOS 4.2.1 on iPhone, iPod or iPad using Greenpois0n for Mac OS

These are step-by-step instructions on how to jailbreak iOS 4.2.1 on iPhone 3GS, iPhone 4, iPad, iPod Touch 2G, iPod Touch 3G, iPod Touch 4G using Greenpois0n for Mac OS X. Tutorial for Windows users is available here. All the steps are the same for all devices, we will cover iPhone.

Greenpois0n has been updated to support the iOS 4.1 and iOS 4.2.1 firmware. Use Limera1n if you want to jailbreak iOS 4.0, iOS 4.0.1, iOS 4.0.2.

Remember: Greenpois0n recommends a clean restore before continuing.

Unlockers: do not update to iOS 4.1 or iOS 4.2.1 if you need the unlock. Ultrasn0w does not support that baseband yet. The only exception is the iPhone 4. Experienced users can also try update to iOS 4.2.1 without upgrading your baseband by using TinyUmbrella. Start TSS Server->Start iTunes->Plug in your iPhone->Restore 4.2.1->Error 1013->Put phone into DFU Mode->Launch Greenpois0n.

We are not authors of this app. We do not promise that everything will go well, use this tutorial at your own risk.

Step One
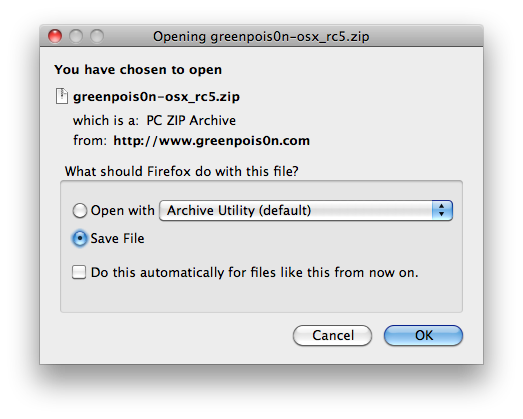
Open your web browser and download the latest Mac version of GreenPois0n from here.

Step Two
When prompted save the download to your desktop.

greenpois0n rc5 s1 Step by step tutorial: untethered jailbreak iOS 4.2.1 on iPhone, iPod or iPad using Greenpois0n for Mac OS

Step Three
Double click the downloaded greenpois0n-osx_rc5.zip file to extract the archive. Then double click greenpois0n icon from the desktop to launch the application.

greenpois0n rc5 s2 Step by step tutorial: untethered jailbreak iOS 4.2.1 on iPhone, iPod or iPad using Greenpois0n for Mac OS

Step Four
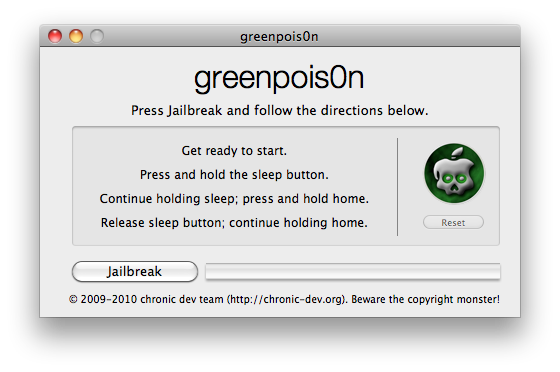
Connect your iPhone to the computer, power it off. Then click the large Jailbreak button in greenpois0n app.

greenpois0n rc5 s3 Step by step tutorial: untethered jailbreak iOS 4.2.1 on iPhone, iPod or iPad using Greenpois0n for Mac OS

Step Five

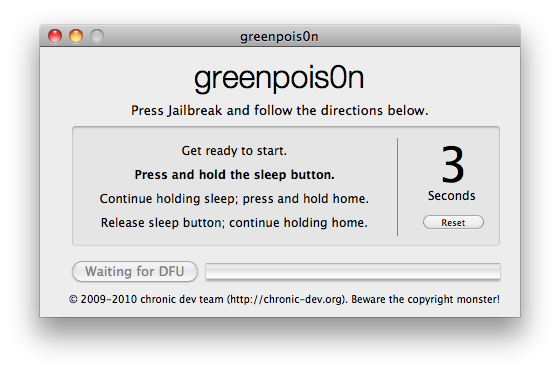
You will now be instructed on how to place your iPhone into DFU mode. You will be asked to press and hold the sleep button (power button) for 3 seconds.

greenpois0n rc5 s4 Step by step tutorial: untethered jailbreak iOS 4.2.1 on iPhone, iPod or iPad using Greenpois0n for Mac OS

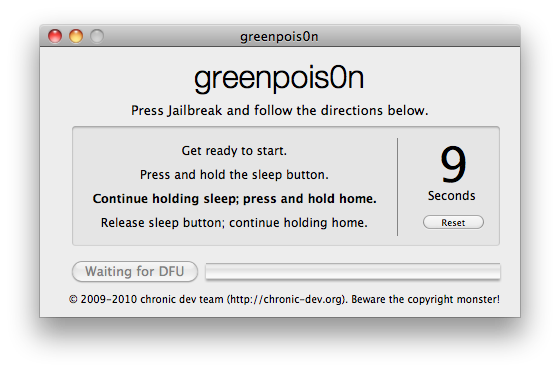
Now continue holding sleep button and and press home for 10 seconds.

greenpois0n rc5 s5 Step by step tutorial: untethered jailbreak iOS 4.2.1 on iPhone, iPod or iPad using Greenpois0n for Mac OS

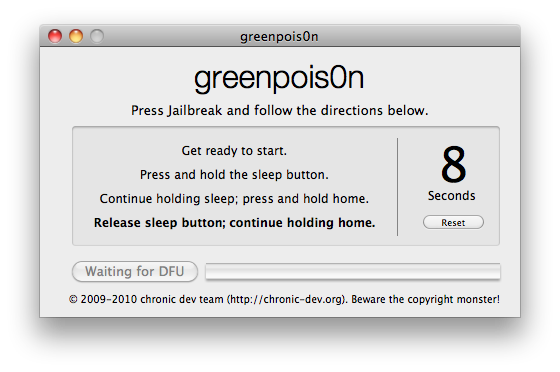
Release sleep button and continue holding the home button. Do not release the Home button at this point!.

greenpois0n rc5 s6 Step by step tutorial: untethered jailbreak iOS 4.2.1 on iPhone, iPod or iPad using Greenpois0n for Mac OS

Step Six
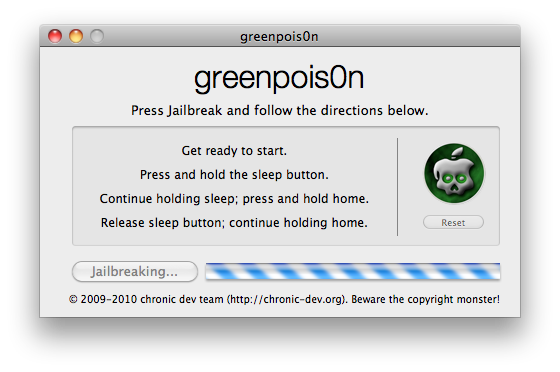
Once your iPhone is successfully in DFU mode the jailbreak will begin. You need to continue holding the home button.

greenpois0n rc5 s7 Step by step tutorial: untethered jailbreak iOS 4.2.1 on iPhone, iPod or iPad using Greenpois0n for Mac OS

Step Seven
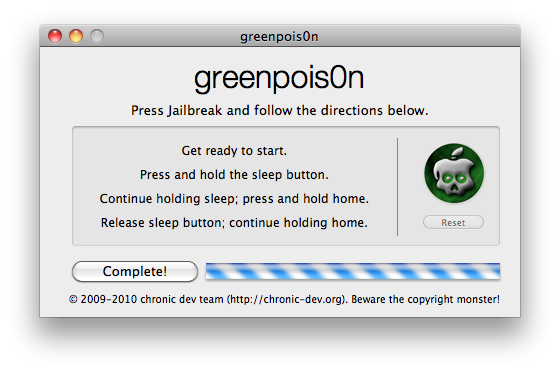
Now once Greenpois0n informs you that it has completed the jailbreak you can release the Home button.

Click the Complete button to close the application.

greenpois0n rc5 s8 Step by step tutorial: untethered jailbreak iOS 4.2.1 on iPhone, iPod or iPad using Greenpois0n for Mac OS

You’ll notice some text scrolling on your device.

Step Eight
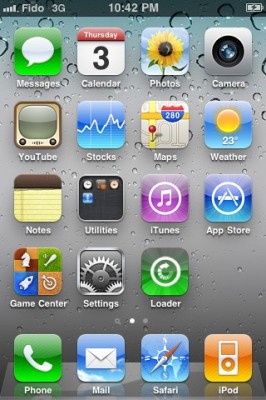
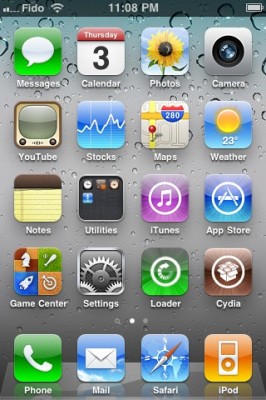
After the iPhone restarts you’ll see a new Loader application on your Springboard. Press to launch it.

greenpois0n rc5 s9 266x400 Step by step tutorial: untethered jailbreak iOS 4.2.1 on iPhone, iPod or iPad using Greenpois0n for Mac OS

Step Nine
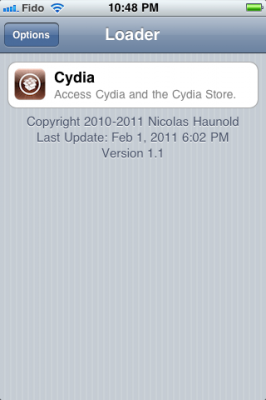
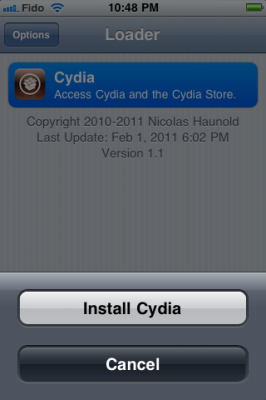
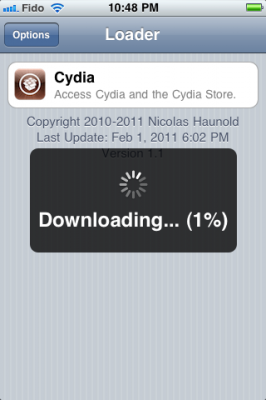
Select Cydia then press the large Install Cydia button that appears. Now Cydia will be downloaded from internet, so you need internet connection through wi-fi or edge/3g.

greenpois0n rc5 s10 266x400 Step by step tutorial: untethered jailbreak iOS 4.2.1 on iPhone, iPod or iPad using Greenpois0n for Mac OS greenpois0n rc5 s11 266x400 Step by step tutorial: untethered jailbreak iOS 4.2.1 on iPhone, iPod or iPad using Greenpois0n for Mac OS

Step Ten
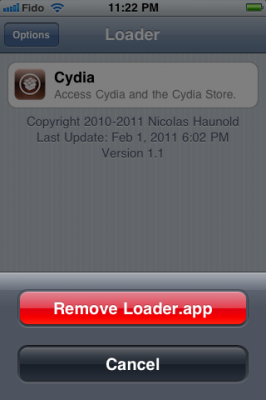
Once Cydia has installed successfully you can remove Loader by pressing the Options button then the large red Remove Loader.app button.

greenpois0n rc5 s12 266x400 Step by step tutorial: untethered jailbreak iOS 4.2.1 on iPhone, iPod or iPad using Greenpois0n for Mac OS greenpois0n rc5 s13 266x400 Step by step tutorial: untethered jailbreak iOS 4.2.1 on iPhone, iPod or iPad using Greenpois0n for Mac OS

Step Eleven
Restart your iPhone and run Cydia. Let it do all the necessary updates.

greenpois0n rc5 s14 266x400 Step by step tutorial: untethered jailbreak iOS 4.2.1 on iPhone, iPod or iPad using Greenpois0n for Mac OS

You’re done!

Update:To change the boot logo back to Apple: install “Apple Boot Logo” from Cydia, then go to Settings-BootLogo and select Apple Logo.

betatest Beta version Of Jailbreak For iOS 4.2.1 Released

The iPhone Dev team has just released the second beta of their untethered RedSn0w jailbreak (the first beta has been released few hours ago and has more bugs).

New jailbreak is called “Jailbreak Monte”, as it uses new “backup method”. The iPhone Dev Team warns that their beta-version is not a general release and you should back up all your media before using it. There are also other limitations and bugs:

  • The beta is limited to iPod touch 4G, iPad and iPhone4;
  • The team asks not to participate in testing if you rely on the ultrasn0w carrier unlock;
  • The bluetooth functionality is disabled due to sandbox problem;
  • iPod player works only on iPod touch 4G;

To use this version of jailbreak Cydia should have your 4.2b3 SHSH blobs saved on file and following:

“You must already have the usbmuxd software installed and running on your Mac (this requirement will eventually go away too). The correct invocation of the relay is just as that page says: “./tcprelay.py -t 22:2222”.  If the relay isn’t installed or running correctly by the time the redsn0w ramdisk has started, you’ll need to restore to stock FW again to try it again. Please test it beforehand to save yourself some time!”

Now, if you’re ready to apply this version of jailbreak, upi can download redsn0w 0.9.7 beta here.

After downloading and applying just select “Jailbreak Monte” to try out the untether.

The iPhone Dev team asks to test it after a fresh restore in order to keep track of the variables involved. Be careful!

By the way, iPodUplink has posted a video where you can see how to jailbreak your device with the latest version of redsn0w:

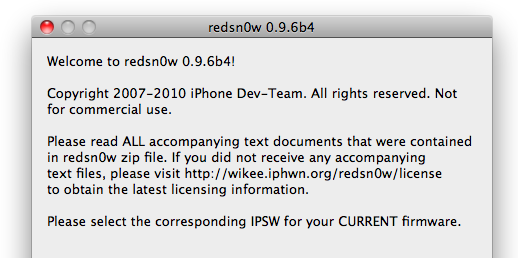
Redsn0w 096B4 RedSn0w 0.9.6b4: jailbreak for iOS 4.2.1 released

DevTeam worked hard for the last several hours and released jailbreak tool for iOS 4.2.1. It is redsn0w 0.9.6 b4.

As usual we remind all ultrasn0w unlockers please stay away from this official firmware. Wait for the ability to create custom 4.2.1 IPSWs that don’t update your baseband!

New redsn0w 0.9.6 b4 uses limera1n exploit and will successfully jailbreak all devices. The only problem is that it is a tethered jailbreak, which means you will have to plug it to a computer and rerun redsn0w on every reboot. This so called tethered or semi-tethered jailbreak. This condition applies to iPhone 3GS (new bootrom), iPhone 4, iPad, iPod touch 2G (MC model), iPod touch 3G and iPod touch 4G. Hackers are working hard to create untethered jailbreak for these devices. To use future untethered jailbreak you need to save SHSH keys for iOS 4.1 using TinyUmbrella utility or directly in Cydia.

Old devices like iPhone 3GS (old bootrom), iPhone 3G and iPod touch 2G (non-MC model) can be jailbroken-untethered right now using this latest version of RedSn0w.

You can download RedSn0w 0.9.6 b4 here.

doesnt airplay1 500x265 Apple kills AirPlay on iPhone 3G [Video]

Multiple developers and users testing out the iOS 4.2 betas claim that the AirPlay functionality was definitely removed from Apple’s iPhone 3G. AirPlay is gone from the golden master version of iOS 4.2. In fact, the AirPlay did work on the iPhone 3G at the previous betas. There are no any reasonable causes why the AirPlay was cut from the GM version.  Perhaps, Apple is trying to get users to upgrade to their latest iPhone model or, on the other hand, it is just an issue in the GM seed. May be the AirPlay functionality will return in iOS 4.2 public release. Anyway, there will undoubtedly be a jailbreak that can re-enable it.

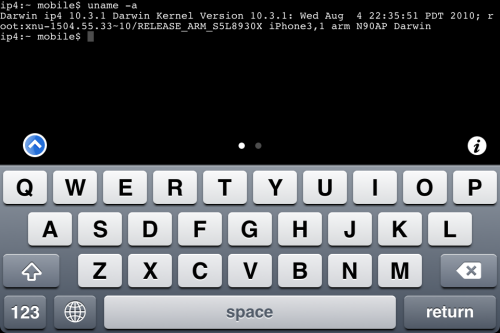
MobileTerminal iPhone4 04 500x333 Step By Step Tutorial: How to install MobileTerminal on iPhone with iOS 4.x

MobileTerminal is a terminal emulator application for the iPad and iPhone. The version of MobileTerminal that is available in Cydia doesn’t work with iPhone iOS 4.x. However there are beta versions that do work, but aren’t on Cydia because they are still in beta stages. This tutorial will show you step-by-step how to install MobileTerminal on iPhone with iOS 4.x (tutorial for iPad is here). If you have old version of MobileTerminal installed – uninstall it in Cydia (Search – MobileTerminal – Remove).

First of all you need to jailbreak your iPhone. If you have not done it already here is an easy tutorial: how to jailbreak iOS 4.0-4.1 on iPhone using Limera1n. After you successfully jailbreaked iPhone:

  1. Run Cydia by tapping on Cydia icon
  2. cydia icon Step By Step Tutorial: How to install MobileTerminal on iPhone with iOS 4.x

  3. The Cydia will start:

Read the rest of this entry

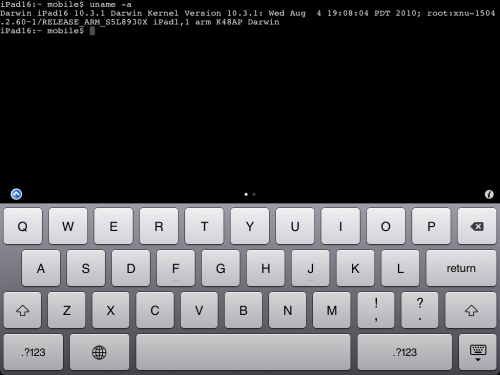
MobileTerminal iPad 05 500x375 Step By Step Tutorial: How to install MobileTerminal on Apple iPad

MobileTerminal is a terminal emulator application for the iPad and iPhone. The version of MobileTerminal that is available in Cydia doesn’t work with iPad iOS 3.2.2 and iPhone iOS 4.x. However there are beta versions that do work, but aren’t on Cydia because they are still in beta stages. This tutorial will show you step-by-step how to install MobileTerminal on iPad (tutorial for iPhone is here). If you have old version of MobileTerminal installed – uninstall it in Cydia (Search – MobileTerminal – Remove).

First of all you need to jailbreak your iPad. Here is an easy tutorial: how to jailbreak iPad with iOS 3.2.2 using Limera1n. After you successfully jailbreaked iPad:

  1. Run Cydia by tapping on Cydia icon
  2. cydia icon Step By Step Tutorial: How to install MobileTerminal on Apple iPad

  3. The Cydia will start:

Read the rest of this entry

Mike Pan has successfully modified his iPhone 3GS and now it can record HD video at 1080x800px with 30 frames per second and up to 20Mbps! The original ability of this handset is 640x480px at 3 Mbps. Mike used the non-standard resolution so the video could be kept at the right aspect ratio.

So here is a short instruction how to enable HD-video recording on your iPhone 3GS with firmware 4.1 (as other firmwares haven’t been tested yet):

  1. Download HDVideo3GS.zip.
  2. Jailbreak your device and install SSH.
  3. Copy N88AP.plist to /System/Library/CoreServices/SpringBoard.app/
  4. Copy the 3 other plist-files to /System/Library/PrivateFrameworks/Celestial.framework/N88/
  5. Reboot your iPhone 3GS

Some features:

  • Low light capability cannot be enhanced, so dark areas will still have grains.
  • In case you want to send the recorded HD-video to YouTube in its original quality, use Pixelpipe from the App Store.
  • The maximum shutter duration has been increased so now you can take photos even in dark areas, but a steady surface or tripod is highly recommended.

Mike promises to release an app in cydia so that the procedure could be even simpler. For those who’d like to understand how he did it, he posted a detailed instruction here.

ipad jailbreak 400x300 Step by step Tutorial: how to jailbreak iPad with iOS 3.2.2 using Limera1n (Mac)

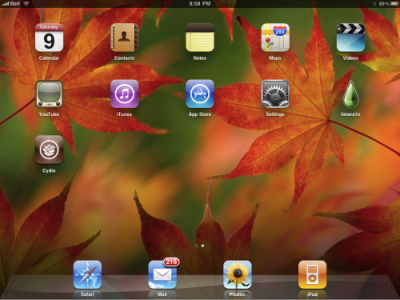
These are instructions on how to jailbreak your iPad with latest iOS 3.2.2 using Limera1n for Mac. You can find the Windows version of this tutorial here.

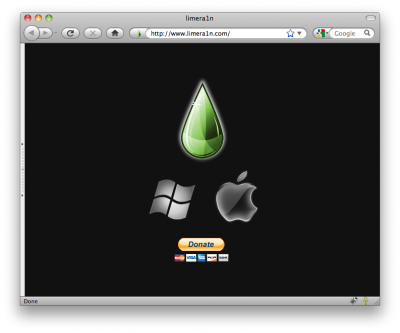
Step 1
Open your browaer and navigate to www.limera1n.com and download LimeRa1n for Mac by clicking on the Mac logo.

limera1n mac 1 400x333 Step by step Tutorial: how to jailbreak iPad with iOS 3.2.2 using Limera1n (Mac)

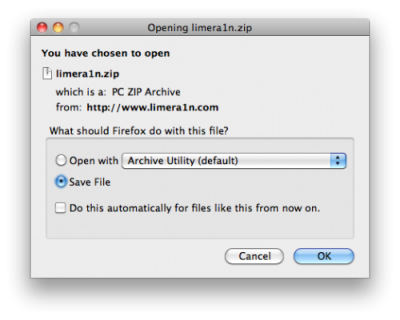
When prompted save the download to your desktop.

limera1n mac 2 400x320 Step by step Tutorial: how to jailbreak iPad with iOS 3.2.2 using Limera1n (Mac)

Step 2
Double click the limera1n.zip file from the desktop to extract the application, then double click it to launch.

limera1n mac 3 Step by step Tutorial: how to jailbreak iPad with iOS 3.2.2 using Limera1n (Mac)

Step 3
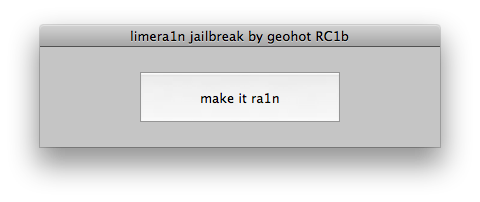
Connect your iPad to the computer and click the large make it ra1n button

limera1n mac 4 Step by step Tutorial: how to jailbreak iPad with iOS 3.2.2 using Limera1n (Mac)

Step 4
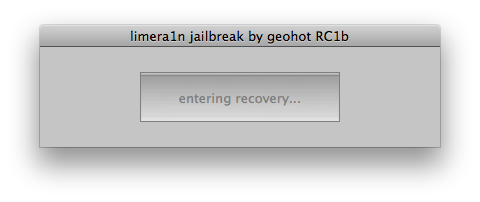
You iPad will now be placed in recovery mode.
limera1n mac 5 Step by step Tutorial: how to jailbreak iPad with iOS 3.2.2 using Limera1n (Mac)

Follow instructions:

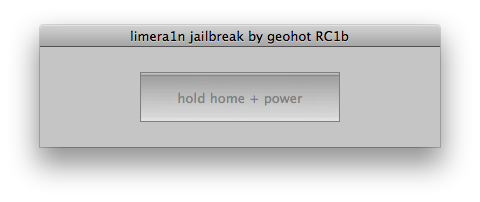
Press both the power and the home buttons.
limera1n mac 6 Step by step Tutorial: how to jailbreak iPad with iOS 3.2.2 using Limera1n (Mac)

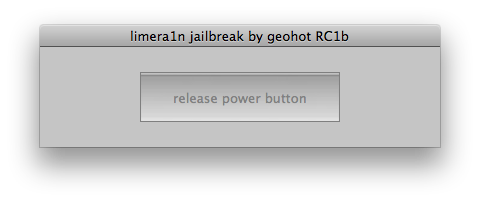
When Limera1n asks you to, release the power button.
limera1n mac 7 Step by step Tutorial: how to jailbreak iPad with iOS 3.2.2 using Limera1n (Mac)

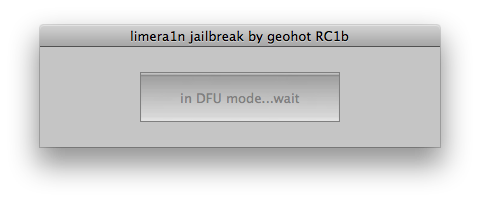
Your phone will now be in DFU mode
limera1n mac 8 Step by step Tutorial: how to jailbreak iPad with iOS 3.2.2 using Limera1n (Mac)

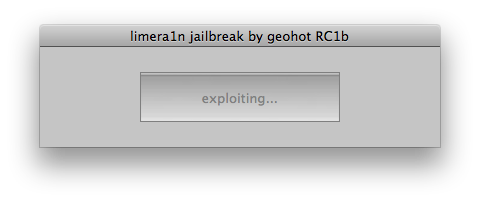
As limera1n performs its exploit you will see the image of a lime raindrop on your iPad.
limera1n mac 9 Step by step Tutorial: how to jailbreak iPad with iOS 3.2.2 using Limera1n (Mac)

limera1n mac 10 Step by step Tutorial: how to jailbreak iPad with iOS 3.2.2 using Limera1n (Mac)

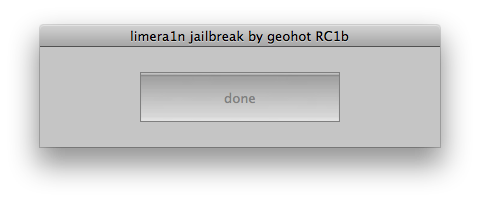
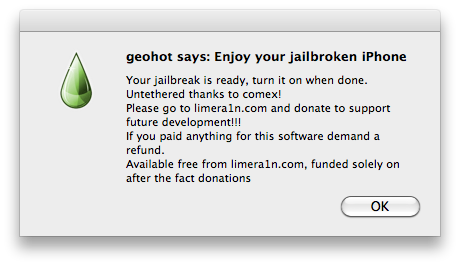
Limera1n will let you know when it is complete.
limera1n mac 11 Step by step Tutorial: how to jailbreak iPad with iOS 3.2.2 using Limera1n (Mac)

limera1n mac 12 Step by step Tutorial: how to jailbreak iPad with iOS 3.2.2 using Limera1n (Mac)

Step 5
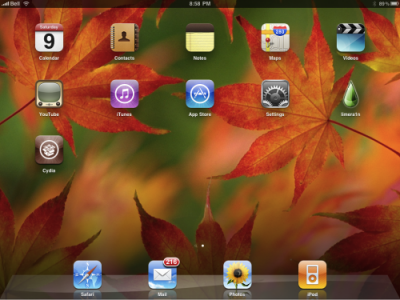
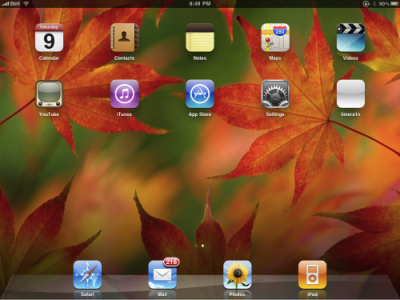
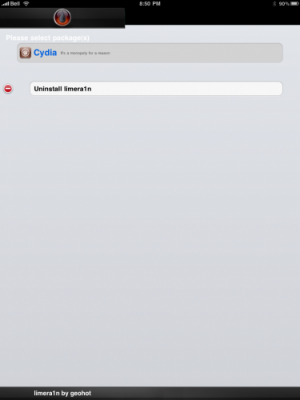
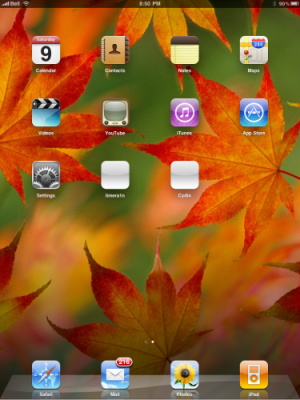
After you power back on your iPad you will see a new icon on the SpringBoard entitled limera1n. Press it to continue.

ipad jail1 400x300 Step by step Tutorial: how to jailbreak iPad with iOS 3.2.2 using Limera1n (Mac)

Step 6
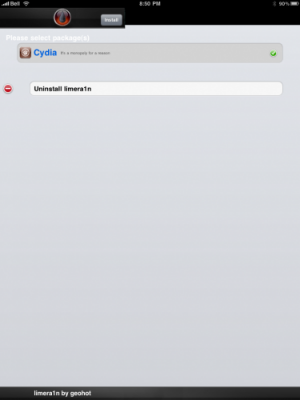
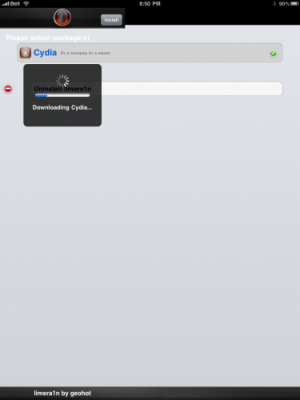
Once Limera1n opens select Cydia then press the Install button at the top right of the screen.

ipad jail2 300x400 Step by step Tutorial: how to jailbreak iPad with iOS 3.2.2 using Limera1n (Mac)ipad jail3 300x400 Step by step Tutorial: how to jailbreak iPad with iOS 3.2.2 using Limera1n (Mac)

Step 7
Once the Cydia installation has completed you must reboot your iPad.

ipad jail4 300x400 Step by step Tutorial: how to jailbreak iPad with iOS 3.2.2 using Limera1n (Mac)ipad jail5 300x400 Step by step Tutorial: how to jailbreak iPad with iOS 3.2.2 using Limera1n (Mac)

Step 8
When your iPad has restarted you can run Cydia. Let it do all the necessary updates

ipad jail6 400x300 Step by step Tutorial: how to jailbreak iPad with iOS 3.2.2 using Limera1n (Mac)

NOTE*: To remove the limera1n icon from your desktop you can install CyDelete from Cydia then use it to delete the application as you delete regular AppStore apps.

Update: To have access to the root file system of your iPad (via file managers like iFunBox) install application called afc2add in Cydia.

ipad jailbreak 400x300 Step by step Tutorial: how to jailbreak iPad with iOS 3.2.2 using Limera1n (Windows)

These are instructions on how to jailbreak your iPad with latest iOS 3.2.2 using Limera1n for Windows. You can find the Mac OS version of this tutorial here.

Step 1
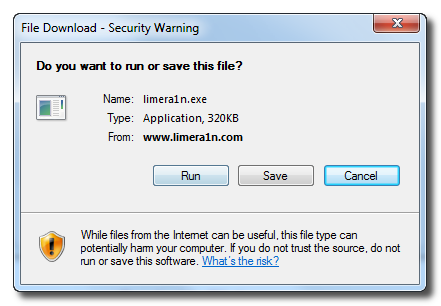
Open your browaer and navigate to www.limera1n.com and download LimeRa1n for Windows by clicking on the Windows.

When prompted save the download to your desktop

limera1n tutorial 1 Step by step Tutorial: how to jailbreak iPad with iOS 3.2.2 using Limera1n (Windows)

Step 2
Double click the limera1n.exe file from the desktop to launch the application
limera1n tutorial 2 Step by step Tutorial: how to jailbreak iPad with iOS 3.2.2 using Limera1n (Windows)

Step 3
Click the large make it ra1n button

limera1n tutorial 3 Step by step Tutorial: how to jailbreak iPad with iOS 3.2.2 using Limera1n (Windows)

Step 4
You iPad will now be placed in recovery mode.
limera1n tutorial 4 Step by step Tutorial: how to jailbreak iPad with iOS 3.2.2 using Limera1n (Windows)

Follow instructions:

Press both the power and the home buttons.
limera1n tutorial 5 Step by step Tutorial: how to jailbreak iPad with iOS 3.2.2 using Limera1n (Windows)

When Limera1n asks you to, release the power button.
limera1n tutorial 6 Step by step Tutorial: how to jailbreak iPad with iOS 3.2.2 using Limera1n (Windows)

Your phone will now be in DFU mode
limera1n tutorial 7 Step by step Tutorial: how to jailbreak iPad with iOS 3.2.2 using Limera1n (Windows)

As limera1n performs its exploit you will see the image of a lime raindrop on your iPad.
limera1n tutorial 8 Step by step Tutorial: how to jailbreak iPad with iOS 3.2.2 using Limera1n (Windows)

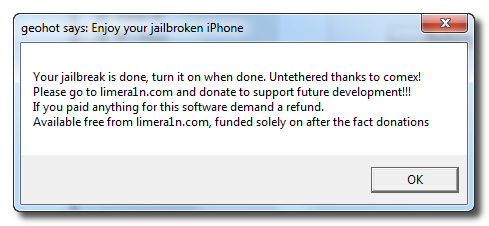
Limera1n will let you know when it is complete.
limera1n tutorial 9 Step by step Tutorial: how to jailbreak iPad with iOS 3.2.2 using Limera1n (Windows)

limera1n tutorial 10 Step by step Tutorial: how to jailbreak iPad with iOS 3.2.2 using Limera1n (Windows)

Step 5
After you power back on your iPad you will see a new icon on the SpringBoard entitled limera1n. Press it to continue.

ipad jail1 400x300 Step by step Tutorial: how to jailbreak iPad with iOS 3.2.2 using Limera1n (Windows)

Step 6
Once Limera1n opens select Cydia then press the Install button at the top right of the screen.

ipad jail2 300x400 Step by step Tutorial: how to jailbreak iPad with iOS 3.2.2 using Limera1n (Windows)ipad jail3 300x400 Step by step Tutorial: how to jailbreak iPad with iOS 3.2.2 using Limera1n (Windows)

Step 7
Once the Cydia installation has completed you must reboot your iPad.

ipad jail4 300x400 Step by step Tutorial: how to jailbreak iPad with iOS 3.2.2 using Limera1n (Windows)ipad jail5 300x400 Step by step Tutorial: how to jailbreak iPad with iOS 3.2.2 using Limera1n (Windows)

Step 8
When your iPad has restarted you can run Cydia. Let it do all the necessary updates

ipad jail6 400x300 Step by step Tutorial: how to jailbreak iPad with iOS 3.2.2 using Limera1n (Windows)

NOTE*: To remove the limera1n icon from your desktop you can install CyDelete from Cydia then use it to delete the application as you delete regular AppStore apps.

Update: To have access to the root file system of your iPad (via file managers like iFunBox) install application called afc2add in Cydia.